
7 Steps to Apply for Subsidy on the Solar Rooftop Portal

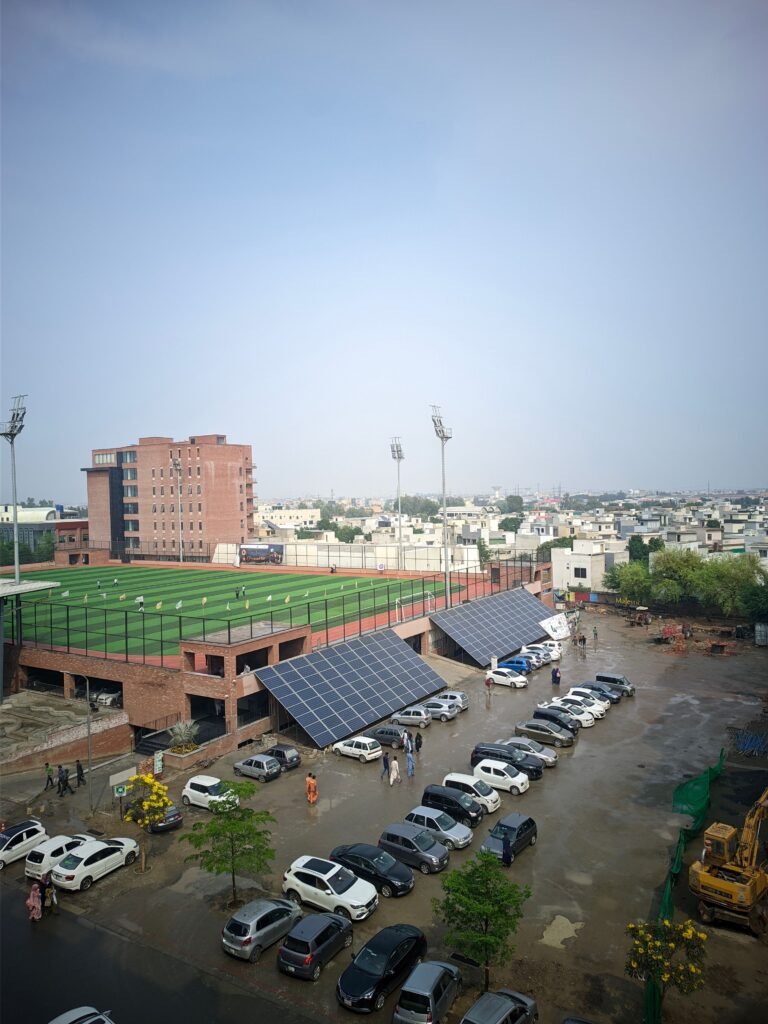
You are standing on your terrace, looking up at the space above your water tank. That space gets sun for most of the day. Right now, it is doing nothing.
Down below, your meter keeps spinning. Your electricity bill keeps arriving. Somewhere in between these two facts sits a government scheme that could connect them, turning that empty rooftop space into a source of free electricity.
The scheme is called PM Surya Ghar Muft Bijli Yojana. The solar rooftop portal where it all happens is pmsuryaghar.gov.in. And the path from your terrace to your bank account runs through exactly 7 steps.
Let’s walk that path together, treating you as the main character of this story.
Setting the Scene: What You Are Working Toward
Before we open the solar rooftop portal, let’s understand what is waiting on the other side. Depending on the size of the system your rooftop can support, the central government offers a subsidy of 30,000 rupees for 1kW, 60,000 rupees for 2kW, and 78,000 rupees for 3kW and above. If you live in a special category state, this can go even higher, up to 1,17,000 rupees.
Some states add their own bonus on top. Uttar Pradesh, for example, offers an extra amount per kW, while Bihar and Rajasthan run similar top-up programs for households. So the number you see at the end of this journey might be larger than the central figure alone.
With that picture in mind, here is your 7-step path.
Step 1: You Create Your Digital Front Door
Every application needs a starting point, and yours begins the moment you visit pmsuryaghar.gov.in and look for the option to apply for rooftop solar. This is your digital front door into the scheme.
Enter your mobile number. An OTP arrives. You type it in, and just like that, your account exists. From this point forward, the solar rooftop portal remembers you, and every step you take gets saved under your name.
Step 2: You Tell the solar rooftop portal Where You Live and Which Meter Is Yours
Now the portal wants to understand your specific situation. You select your state and district, then enter your electricity consumer number, the one printed on your monthly bill.
Think of this step as introducing yourself properly. Up until now, the solar rooftop portal knew your phone number. Now it knows your address and your exact electricity connection. This link matters later because the subsidy and the net metering will both be tied to this same connection.
Step 3: You Build Your Profile with the Right Documents
Here, the story shifts from “who are you” to “prove it.” You fill in your personal details, your address, and property information, and upload supporting documents like your Aadhaar card and your latest electricity bill.
This is the part where a little patience goes a long way. Double-check spellings, document clarity, and that every number matches your actual bill. The solar rooftop portal later asks you to confirm that everything you have submitted is accurate, and mismatched details here can slow down everything that follows.
Step 4: You Decide How Big Your Rooftop Story Gets
This step is where things start feeling real. The solar rooftop portal asks you to choose a system capacity, 1kW, 2kW, 3kW, or more, based on your rooftop space and your electricity consumption.
The moment you select a capacity, something satisfying happens. The solar rooftop portal instantly shows you the subsidy amount tied to that choice. Choose 3kW, and you immediately see 78,000 rupees reflected as your central subsidy. It is one of the few moments in any government process where the reward appears right in front of you, instantly, before you have spent a single rupee.
Step 5: Someone Else Checks If Your Roof Can Handle It
For this step, the spotlight shifts away from you, briefly, to your local electricity distribution company, the DISCOM. They review your application and confirm whether your rooftop and electrical connection can technically support the new solar system. This is called feasibility approval.
This part of the story has its own pace. It can take anywhere from 7 to 30 days, depending on your state and how smoothly your documents check out. Sometimes a site visit is needed. Sometimes corrections are requested. Either way, this approval is the green light that allows the next chapter, the actual installation, to begin.
Step 6: A Vendor Walks Onto Your Rooftop
Once approval comes through, you get to choose who brings your solar system to life. The solar rooftop portal shows you a list of vendors empanelled under MNRE specifically for this scheme, operating in your area.
You pick one. They visit your home, walk your rooftop, and design a system that fits your space and needs, along with detailed pricing. Once everything is finalized, installation usually wraps up in just 2 to 3 days. As part of this process, your vendor also arranges net metering, the mechanism that lets your system send extra solar power back to the grid in exchange for credits on your bill.
Step 7: You Close the Loop, and the Money Arrives
This final step is where your story comes full circle. After installation and net meter setup are complete, your vendor hands you a commissioning report. You upload this report to the solar rooftop portal, and with that, your application is formally complete.
From here, the subsidy gets credited directly to your bank account, typically within 30 to 45 days of commissioning and net meter installation. The terrace that once sat empty is now generating power. The application that started with a phone number and an OTP ends with money in your account and a meter that, on sunny days, might even spin backward.
A Few Things Worth Knowing Along the Way
As you move through these steps, a few details can save you time. Every solar module used in 2026 must come from the ALMM, the Approved List of Models and Manufacturers, so it is worth confirming this with your vendor upfront. Net metering is not optional; it is the backbone of how the “free electricity” promise actually works. And if you ever feel stuck or confused at any point, the scheme runs a toll-free helpline at 15555, staffed specifically to help applicants like you.
One more thing. After logging in, look for the State Scheme section on the solar rooftop portal. If your state offers a top-up subsidy, this is where it shows up, and it can meaningfully change your final numbers.
Frequently Asked Questions
Q1: I just moved into a new home. Can I still apply if the electricity connection is in someone else’s name?
The application is tied to the electricity consumer number on the bill, so the connection should ideally be in the applicant’s name. If it is not, you may need to update the connection details with your DISCOM before applying.
Q2: What if my rooftop fails the DISCOM feasibility check?
If feasibility is not approved, you may need to address the issues raised, such as structural concerns or electrical connection limits, and reapply or provide corrections as guided by your DISCOM.
Q3: Can I choose a system size larger than what the subsidy fully covers?
Yes. You can install a larger system than the subsidy cap covers. Still, the subsidy amount itself is capped, for example, at 78,000 rupees for 3kW and above under the central scheme, regardless of how much larger your system is.
Q4: Is there a deadline to apply for this subsidy?
The scheme is an ongoing national program, but subsidy amounts, eligibility criteria, and state top-ups can be updated over time. It is best to check the current details on the solar rooftop portal at the time you apply.

My work focuses on finding the human stories behind the headlines, from documenting unique cultural traditions to covering stories from communities across Bengal. Previously, I worked as an SEO Content Writer with Penning Down and Collegedunia, combining digital content expertise with newsroom journalism.
I believe impactful journalism is built on accuracy, empathy, and stories that stay with readers.
- Amazon Coupon Code: Up to 70% Off Your Order - October 10, 2024
- Amazon Brand – Solimo 1000ml Stainless Steel Insulated (Thermosteel) Water Bottle | 24 Hours Hot and Cold | Leakproof, Rust and Corrosion Resistant| For Travel, Office, Trekking, Home (Silver) - October 9, 2024
- Panasonic Portable Oral Irrigator/Dental Water Flosser - April 10, 2016
Blog Insights
View All CouponTalk Blogs
12 Best LED Lighting Brands In India

10 Best Water Pump Brands In India
10 Best RO Membrane Brands In India
10 Best Electric Wire Brands In India

10 Best Electric Pressure Cooker Brands In India

10 Best Hand Blenders Brands In India
7 Best Car Battery Brands In India


